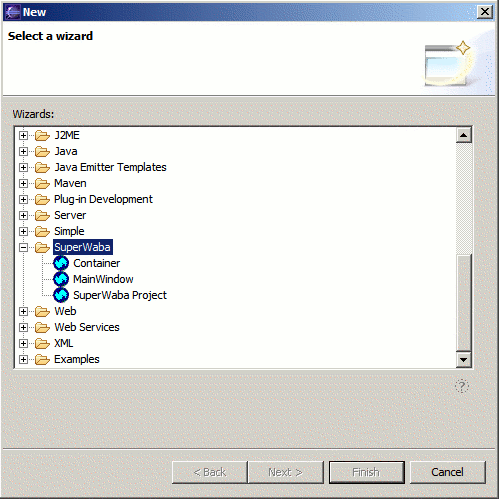
To start a new project, select File -> New -> Project, and then SuperWaba -> SuperWaba Project.
Follow the normal steps until the last page, when you must select a SuperWaba SDK installation.
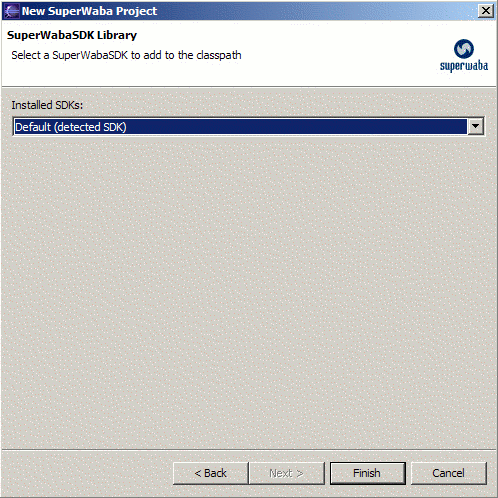
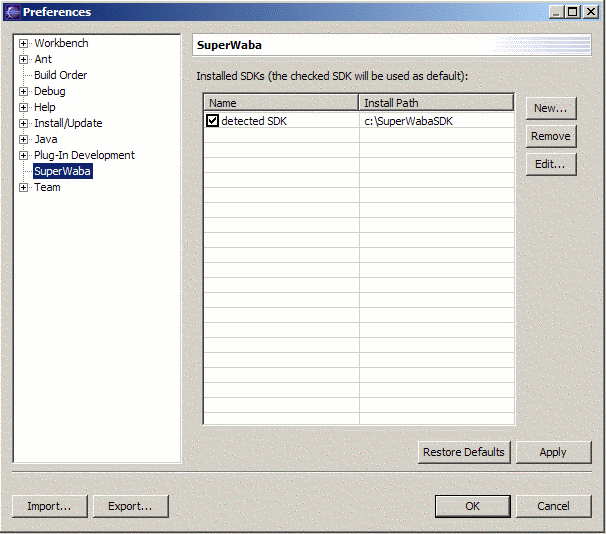
For 99.999999% of people the default settings should work. If you've installed the SDK in a directory other than c:/SuperWabaSDK, your SDK is 5.0 or higher, or you have several SDK installations (for testing purposes, perhaps), you should configure your SDKs in the Window -> Preferences -> SuperWaba dialog.
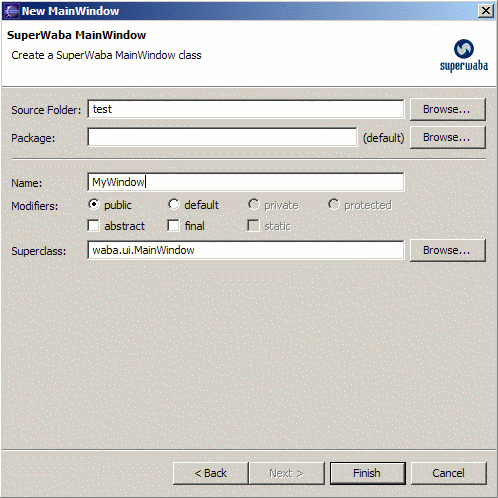
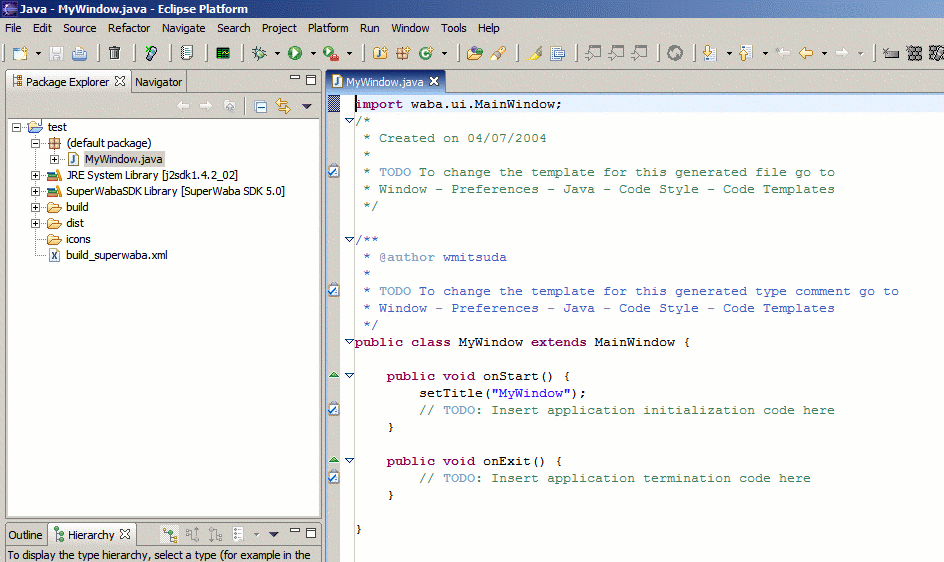
Let's create a MainWindow, so select File -> Other, and then SuperWaba -> MainWindow. Fill the textboxes according your preferences, and it will create a new MainWindow subclass with some default methods I hope you will probably override.
It is NOT a recomended practice to place your controls directly in MainWindow. Instead, you may use a Container subclass. There is a wizard for Container creation. It is similar to MainWindow wizard. You can access it from File -> Other, and then SuperWaba -> Container.
The plugin provides a launcher which executes your application using the waba applet. You must create a new SuperWaba Application in the Run -> Run/Debug.
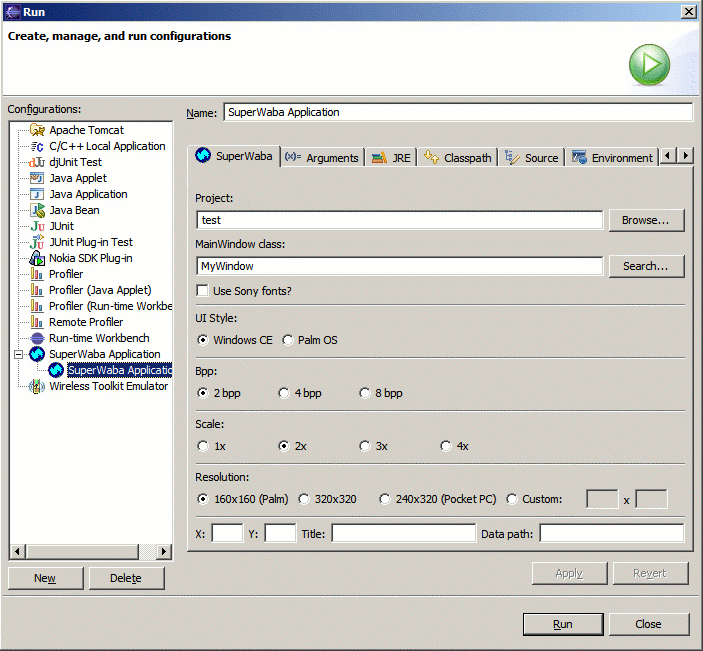
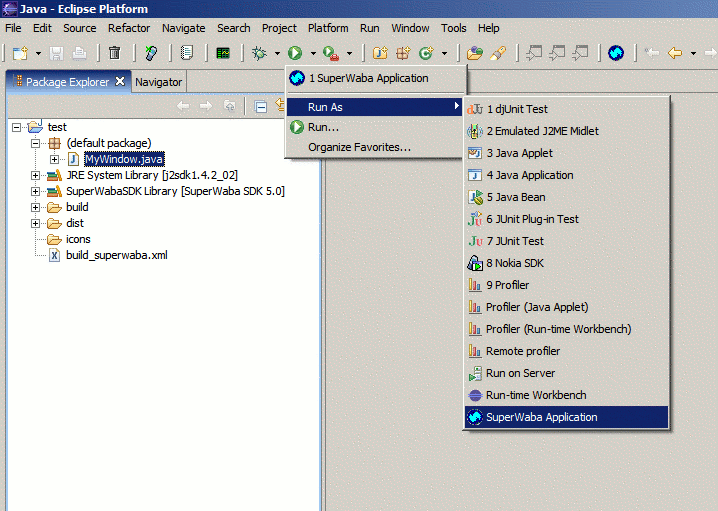
It is possible to launch a application without have to create a launch configuration manually. If you select Run -> Run/Debug As -> SuperWaba Application, it will search the MainWindow class of your project, and create a launch configuration with the default settings.
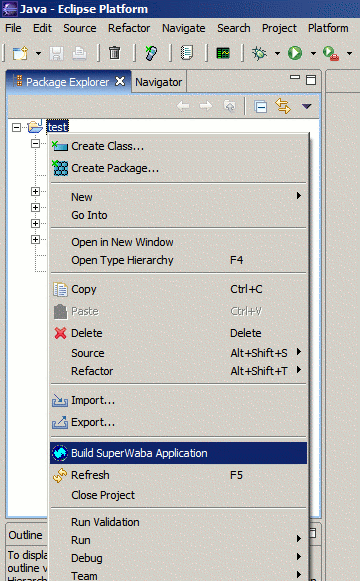
Let's package our application for deployment. There is a new option in project's context menu. Select Build SuperWaba Application.
It will open a build dialog, where you can fill your build options. There is a radio group to select what you want to build too (only Warp, only Exegen, Exegen with Pocket PC .exe or .cab).
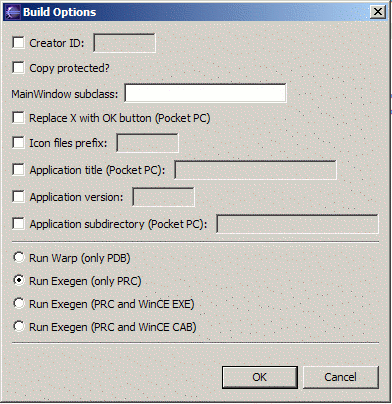
After choosing OK, it will generate a ANT buildfile called build_superwaba.xml (the name is not build.xml to not override your own buildfile) and will launch ANT with your choosen target.
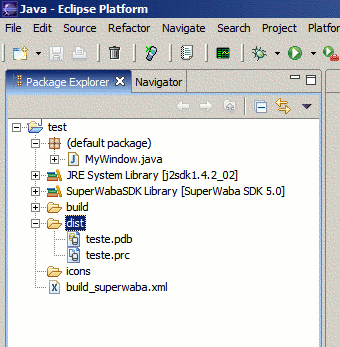
If executed successfully, you will need to refresh your project, and you will see 2 new directories: build and dist. Build will contain temporary files generated by ANT. Dist will contain build result; the files you want.
